Tuesday, July 26, 2011

beading a marc jacobs dress by hand


So I teased you with this picture yesterday - one of the ending pieces for Marc Jacobs' Spring 2011 RTW collection.  I can't give away too many background details (confidentiality purposes) but Elle McPherson had this dress altered for her.  Now, when garments don't end up being used for photo shoots or shows, the alterations have to be undone so they can be returned to the designer (this dress cost $5,900 so you want your money back!)  The problem is, the dress was shortened for Elle.  What this means?  There was a seam running horizontally through the dress about a foot up from the hem.  (I joked to Sam that the store probably wouldn't notice it, and she answered, "But you did!") 

My job was to re-bead that portion of the dress to completely hide the seam.  I also needed to re-bead the areas around the seams that were taken in for Elle, and let back out for the store (so the sequins had to be removed). 

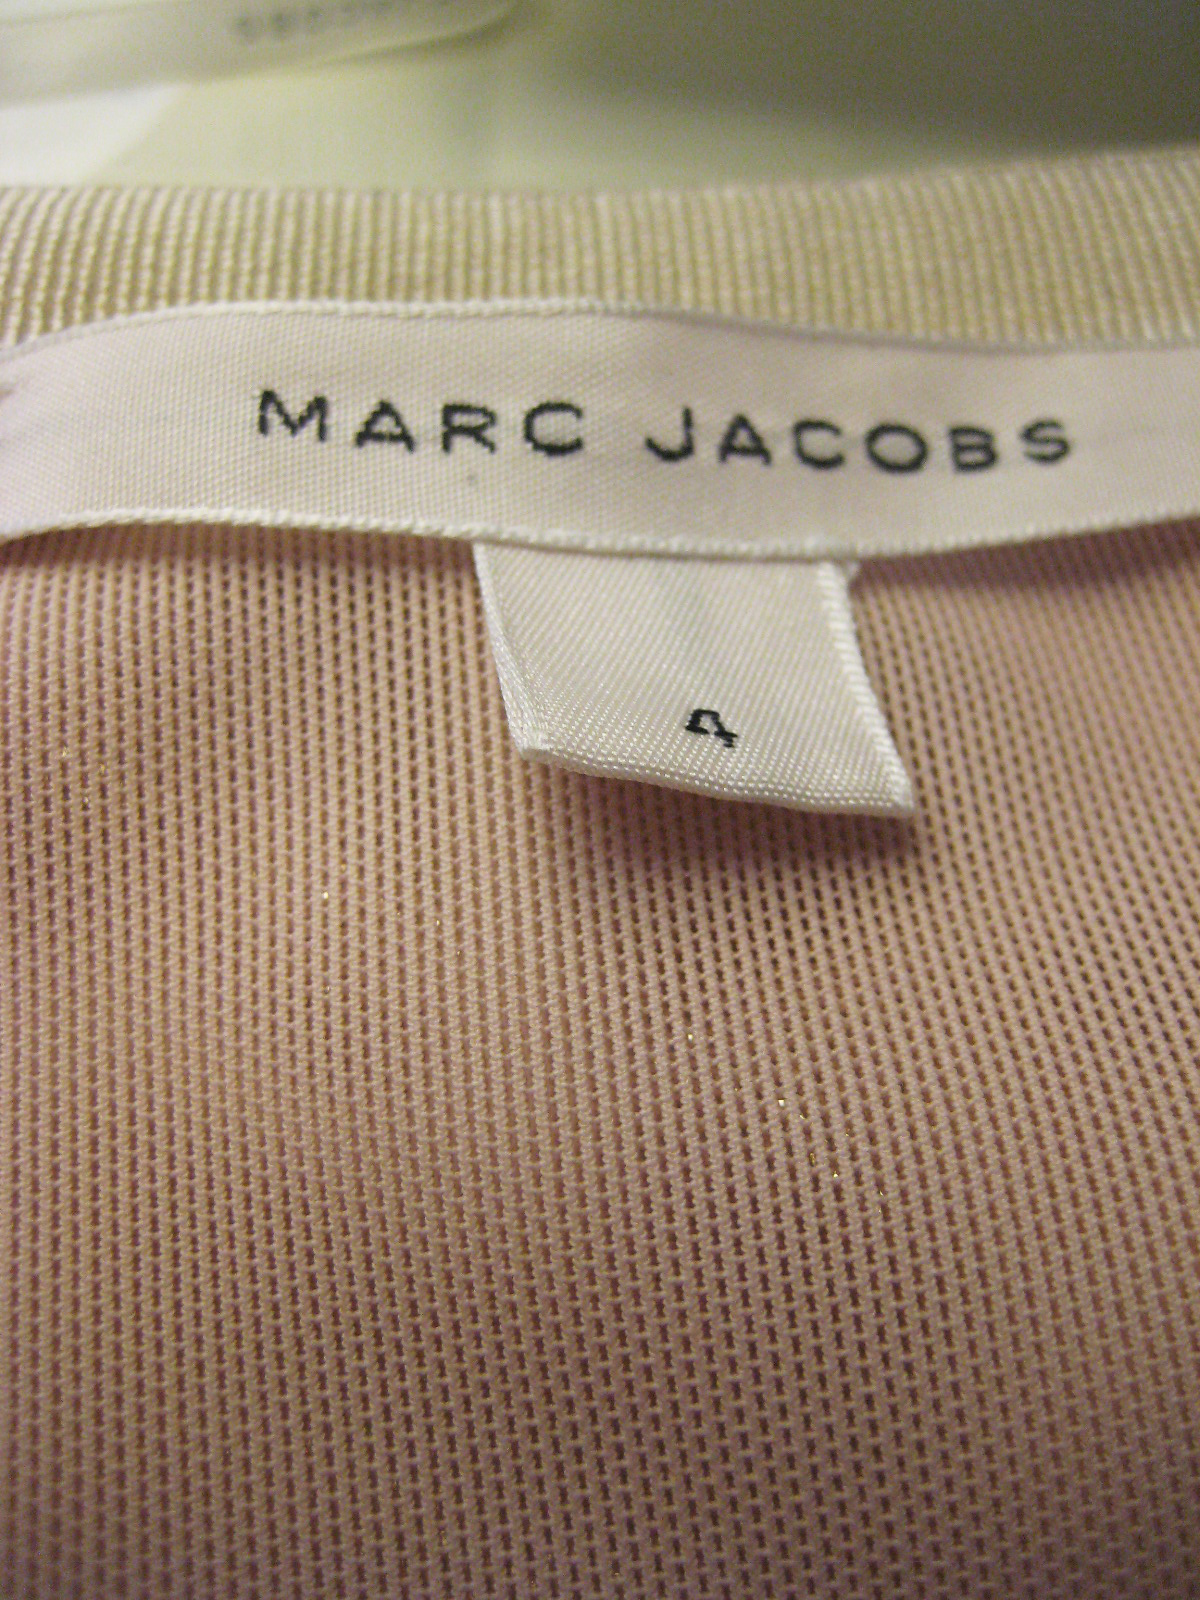
 Getting to work on a designer garment was like a dream!  To see how it was constructed was so neat.

 Re-attaching the last of the lining from the shortening

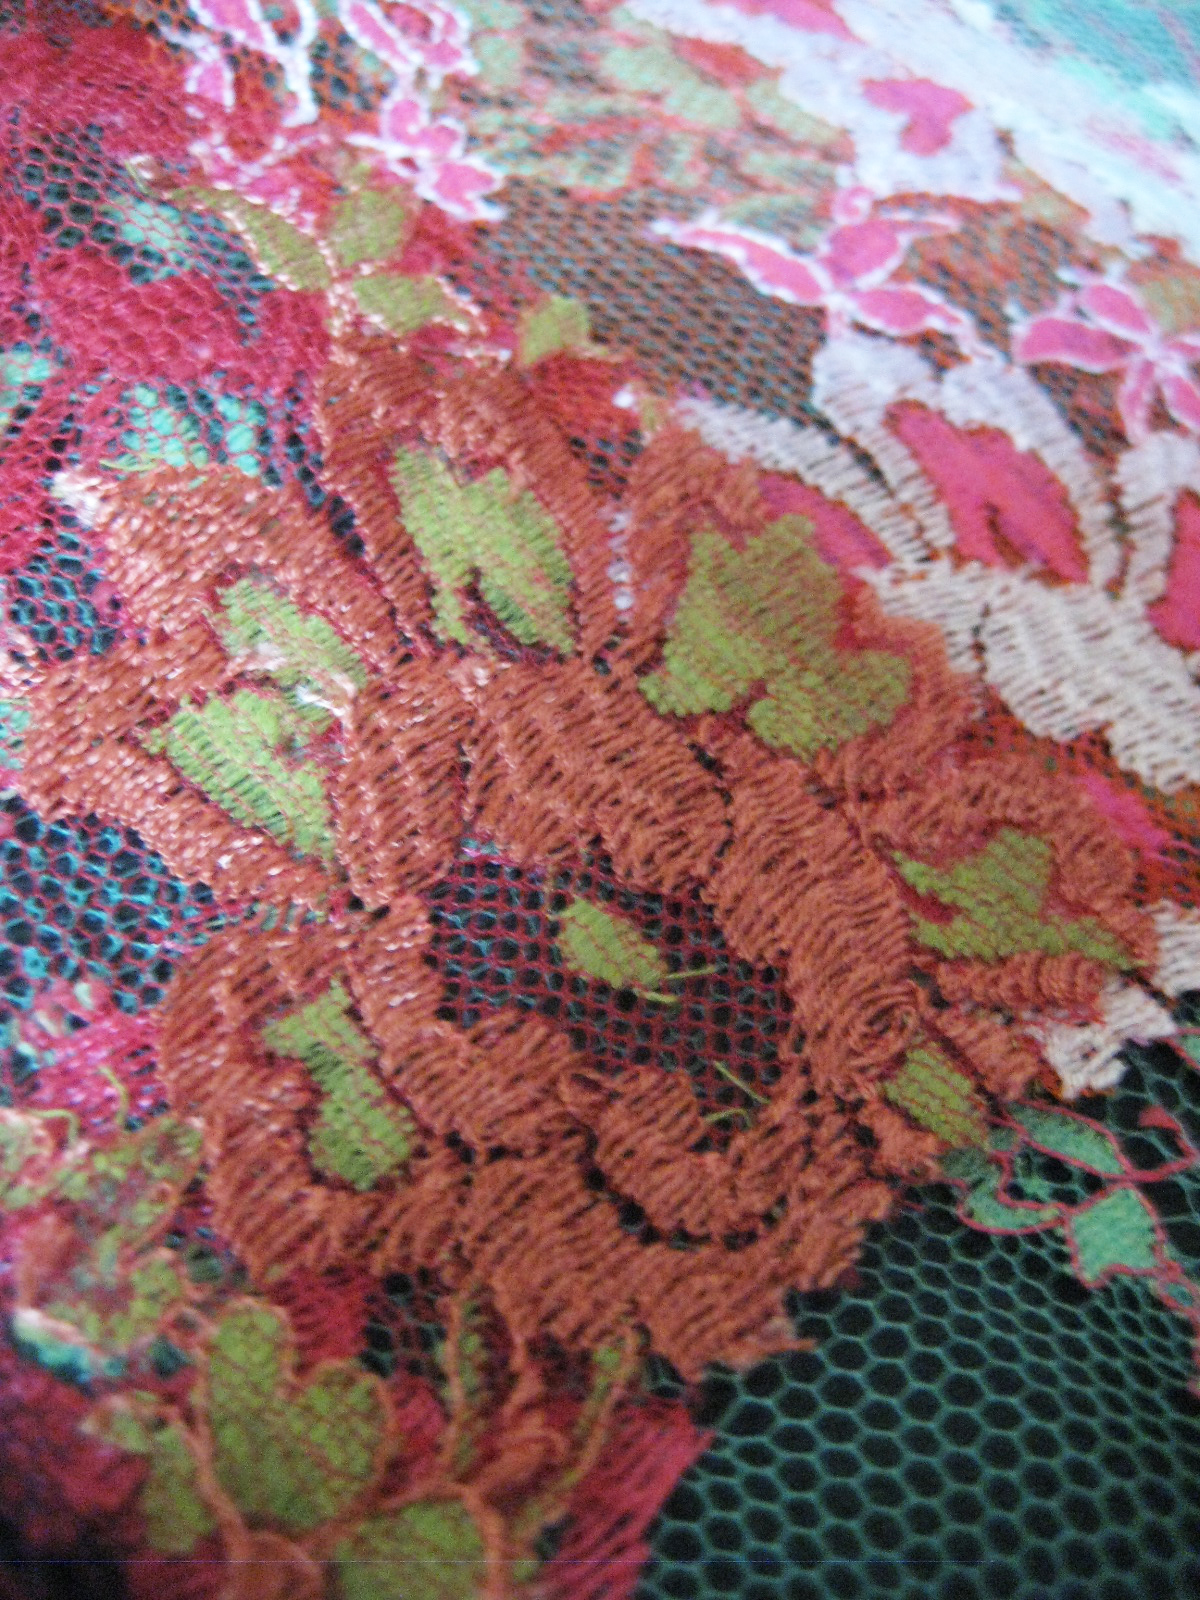
 The offending seam! See it now, watch it disappear.

 Detail shots of the beading

 The fabric, and how it appears on the inside (without a lining).  We wondered about whether there are machine feet for sewing sequins - there must be!

 My favorite things!

 Can you find the seam now?  The team will be so happy!

This was a lot of fun to work on - the time flew by!  This is the kind of project I would have been happy to do any day.  However, there was another surprise along with getting to play with sequins and touch a Marc Jacobs runway dress.  Sam charges for her alterations services - and informed me that whatever portion of the work I did, I would get paid for those hours!  I was so surprised; I didn't expect that at all!  

Some fun things coming up in the summer - working on a wedding dress for The Row (!!!), working on Victoria Beckham's line for Fashion Week (!!!!!), and, totally unrelated, a weekend visit from Andrew! (!!!!!!!!!!!!!!!!!!)

Monday, July 25, 2011

wedding dress alterations and a sneak peak

The other day a woman brought her dress over to Sam's for some alterations.  I got to work a little bit on it myself - I removed the (horribly sewn on) covered buttons and restitched them (well, all but one that went missing.  Went to a covered button factory today and the replacements will be ready tomorrow!)  I also removed the zipper.

Now, I consider myself a very good seamstress.  However, when you get the rare chance to look inside of an expensive garment, it is a real treat.  And when you get the even more rare chance to take a seam ripper to an expensive garment, it's really scary.  Here are some action shots.

 It feels so wrong.

Taking something apart is one of the best ways to learn how to put something together.  You have to be pretty meticulous though - seam rippers are notorious (at least when I'm using them) for piercing through and ripping fabrics.  I also think, when dull, they pull unnecessarily hard on threads before cutting them, stressing the fabric.  So I used thread clippers.  One wrong clip, and you're done for!  Fortunately, there were no wrong clips.  But it was so strange to watch the dress come apart before my eyes - it's amazing what difference a zipper makes!  

I also had a really unique opportunity today to work on something - it will be finished tomorrow, but until then I'll torture you with this:

 Marc Jacobs Spring 2011 RTW

Wednesday, July 20, 2011

how to : sew a french seam

I sewed my best French seam yet today, in a crinkled silk chiffon.  Rather than show it off, I figured I'd take pictures along the way to show how one is done.

A French seam is a method of seam finishing used especially for sheer or fine fabrics that may fray easily, or for garments that want a couture inside finish.  For more commercial garments, serging is used (look inside your t-shirt or jeans).  But inside of an evening gown, you will see seams like the French or Hong Kong finish, for a more elegant treatment.

French seams are easy in theory, but difficult in practice.  The basic idea is a set of two seams: one to create the seam, and a second to capture the raw edge of the original seam allowance.  Here is how to sew one!


Your first step is to sew your fabric wrong sides together.  Later, you will be flipping it so it will be right sides together.  When I first learned French seaming I did this backwards all the time.  Calculate your seam allowance carefully - if your pattern allows for a half inch, realize that your final seam will probably be about 3/16" so sew your initial seam minus that final seam measurement. 

After you sew the initial seam, press the seam flat (this is a wonderful trick - before opening up the seam to press open the seam allowance as usual, run the iron straight up the stitch line.  This helps balance the stitches, so you will never end up with a rippled seam.)  Then, while the seam is still closed, trim away the seam allowance as close as possible - usually 1/8" will do.  Then open up the seam and press. 


Now you will sew your fabric right sides together.  Fold the fabric with your fingers (first picture) so that the seam line is directly on the fold line, and pin.  Rather than trying to iron it this way first, I find it is easier to iron it completely flat and then bend at the stitch line - it will bend quite easily and naturally here.  Stitch 3/16" away from the fold.  Your trimmed seam allowance is 1/8", so if you stitch 1/16" away, you trap it inside the stitched channel so fraying is prevented, and a beautiful clean finish is created. 

I find this works easiest in sheer fabrics - not because they are easier to sew, but because you can see your trimmed seam allowance and know exactly where to guide the foot.  In the second picture, you can see how my needle mark is lined up just outside the trimmed allowance. 


The other benefit to sheer fabrics is you can check yourself as you go - hold the fabric up to the light, and make sure your seam allowance doesn't travel beyond your stitch line.  If it does, when you press the final seam you will have little "fuzzies" escaping the seam.  These look very awful!  If working with an opaque fabric, do not fret - simply make sure your measurements are perfect, and you should be fine.


When you are finished stitching, balance and press your stitch line once again.  You should have a seam with what appears to be a very thin pin-tuck running the length of your fabric, on the wrong side. 


Turn your fabric to the right side and press your seam open like any normal seam.  The result (on the outside) should be a perfectly regular seam (unless your fabric is sheer, in which case you will see a very fine and delicate line of allowance).  On the wrong side, you have the enclosed seam that looks like a pin-tuck.  Check for fuzzies and trim if you can.  If not, you may need to go back and adjust your stitch line.


 And you are done!  French seams are truly beautiful and take a good amount of concentration and patience - but they are worth it.  I personally love being able to see them through sheer fabrics, because to me they are like a thin skeletal outline of the construction of the garment (like pencil lines on a sketch).  They also give the inside of a garment the effect of being as nice as the outside.  After all, it's the inside that counts.

Tuesday, July 19, 2011

solstiss lace samples

A week or so ago, I got the cool opportunity to attend a lace appointment to view the Solstiss lace collection.  Solstiss is a French company specializing in the most beautiful and unique laces I have ever seen - from geometric, art-deco inspired laces, to metallic or beaded laces in vibrant colors.  Their clients include Hermes, Collette Dinnigan, Oscar de la Renta ... and possibly now us!

The woman helping me, Fabienne (gorgeous French accent), was incredibly nice and showed me around the small space, going from section to section (metallic, new collection, bridal, trims, etcetera) and told me that if there were any I liked, I should set them on the table and she would order samples for me.  Now, these aren't the measly little swatches you usually get - these are 1' x 2' CHUNKS of fabric, stapled to a large card displaying the fiber content, mini swatches of all other colorways, and general order information.  I couldn't help myself, and they arrived in the mail today (free).

 See how big those swatches are?  That's a couch cushion behind them.
 I couldn't help but want this - the colors were too interesting.
 Silk laces feel unlike anything - they are soft and drape-able.

brooklyn botanical garden

On my day off today, I decided to go up to the Brooklyn Botanical Garden (after all, it is free on Tuesdays.  How could I not?)  Little did I know I was about to enter the most beautiful garden I'd ever seen.  Rock gardens, fragrance gardens, rose gardens, edible gardens - I was in heaven.  The whole place smelled like life.

 Entrance to the rose garden
 I stood in the way of the sprinkler to take this one.  It felt amazing!
 The herb and vegetable garden.  I wanted to eat the lettuces straight out of the dirt!
 Purple and Thai basil

Since I've been on an interest-in-gardening kick lately, I stopped in the garden shop and randomly selected a seed packet.  Turns out I made a lucky guess (Runway Arugula, by Renee's Garden) because arugula is a very sturdy plant, grows easily indoors (hello winter food in my house fall quarter!) and grows rather quickly.  Sounds perfect!  Additionally, I have always loved botanical drawings (the types you see in textbooks) and that was exactly what adorned the seed packet.  I can't wait to grow this.

The "Runway" variety has a more jagged leaf but same classic, peppery flavor.  I love it!
 
Some drawings I love

After my excursion at the garden, I went down to Barnes and Noble to look for a gardening book I've wanted (Grow Great Grub, for apartment gardening) but after much deliberation decided to wait until I actually had a more concrete idea of where I would be doing this.  As usual, I wandered over to the cookbook section and saw a few things I've wanted for a while.  Then a light yellow book caught my eye, "The Art of Simple Food" by Alice Waters.  I flipped through it and realized it was a compendium of lessons, notes, and recipes (more like a culinary course), and it occurred to me that while I do lots of cooking, all my recipes are pulled from multiple sources and I've never had one big book of everything to actually teach me the basics of the culinary arts, like baking bread, making the perfect rue (which after a week ago I finally learned - mine turned out more like mashed potatoes, and was rather scary - to use a T of butter and a T of flour per cup of milk).  I deliberated another few minutes until flipping to the inside cover, where I saw this:

Sold.

I can't wait to pick my future vegetables and herbs and use them in my path to becoming a culinary master.  If you want to learn how to do it, DO IT